DuoPEX Gas
Installation
The DuoPEX Gas pipe and fitting system is designed to make every job quick and easy. It provides a revolutionary alternative for the professional plumber and gas fitter.
Preparation Instructions

Step 1
Ensure that the battery is fully charged and attach it to the tool.
Step 2
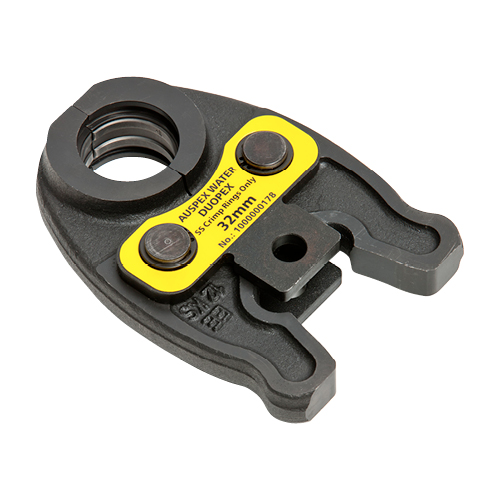
Select the jaw size to suit the fitting to be crimped. The jaws must be examined in terms of possible damage or dirt in the compression area.
Step 3
To change the jaw push the pin in and turn pin to unlock.
Step 4
Insert the jaws and line up the holes in the tool with the hole in the jaw.
Step 5
Push the pin through the hole in the jaw and turn pin to lock.
Step 6
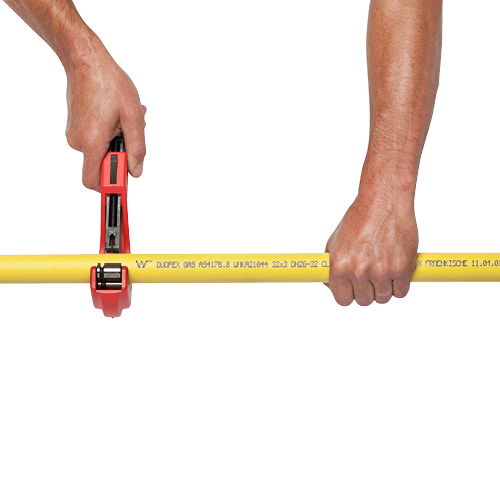
Cut the pipe to the required length with the recommended multi-layer pipe cutters.
Step 6
Cut the pipe to the required length with the recommended multi-layer pipe cutters.
Step 7
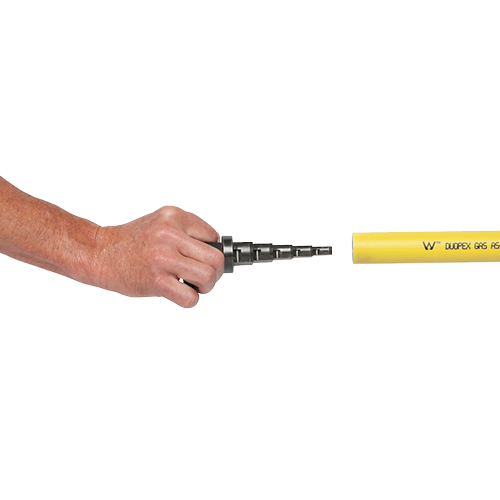
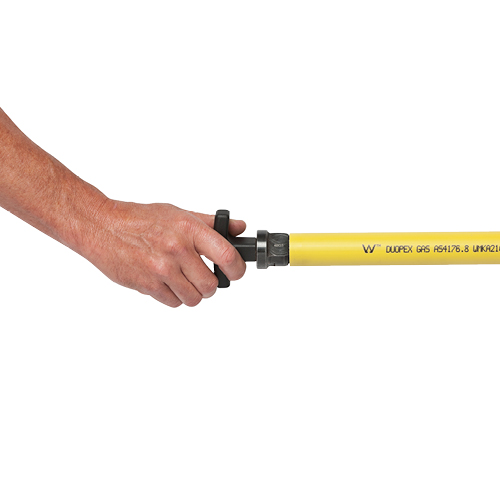
Insert the approved calibrating/ deburring tool into the pipe, and then alternately turn in a clockwise and in a counter-clockwise direction. Ensure that a consistent, smooth chamfer is formed on the end of the pipe.
Step 8
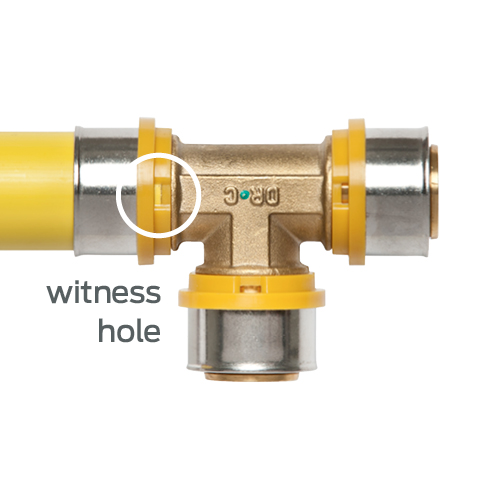
Insert the pipe into the fitting and under the stainless steel ring and push the pipe until it is visible in the slots of the plastic sight ring (witness hole). This ensures you have pushed the pipe home.
Installation Instructions
Step 1
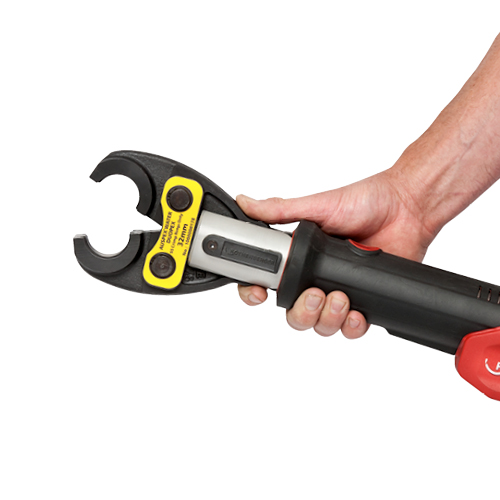
By squeezing the back of the jaw, the jaws will open. If you look at the machined profile on the inside of the jaws you will note a slot on each side of the profile.
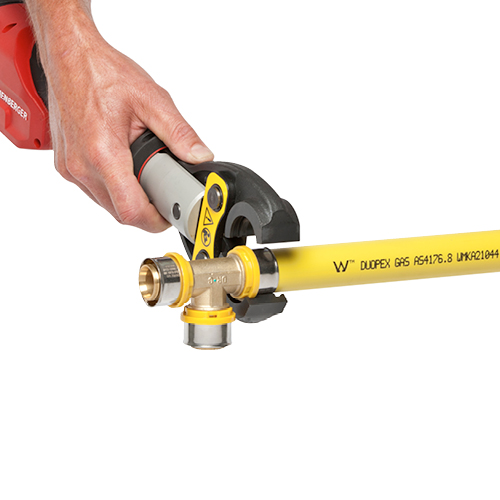
Step 2
With the jaws open, place the fitting inside the jaws so that the raised section of the plastic sight ring fits into the slot in the jaws.
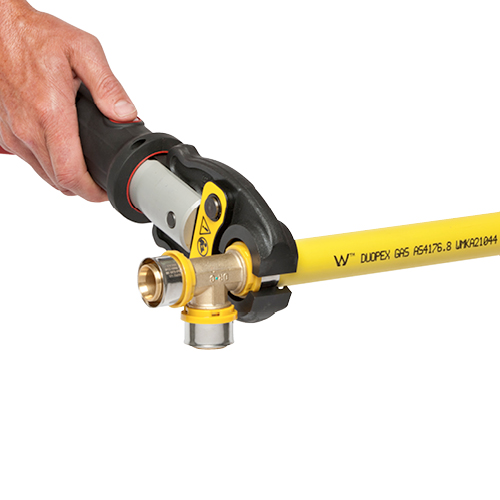
Step 3
Release the jaws so they fit snugly over the fitting, ensuring that the raised section of the plastic sight ring is still located in the slots in the jaw.
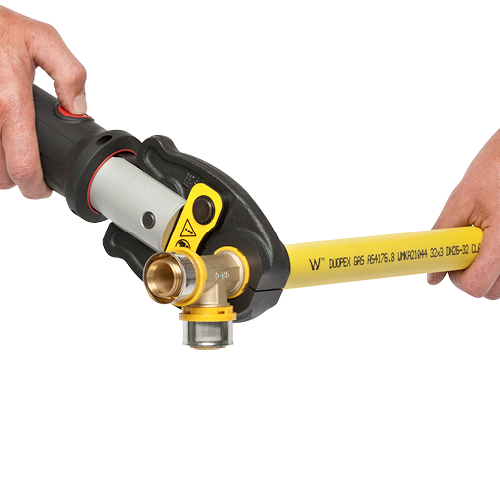
Step 4
Press the switch mechanism until the joint is completed and the piston has retracted back into the body of the tool. Ensure that the tool jaws are fully closed and touch each other prior to tool retraction.
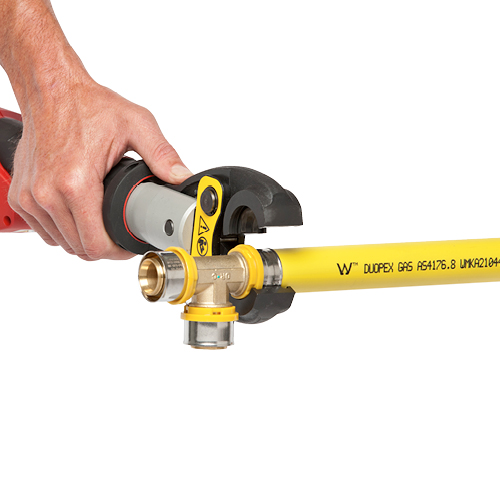
Step 5
Press the back end of the jaws and remove the completed joint.
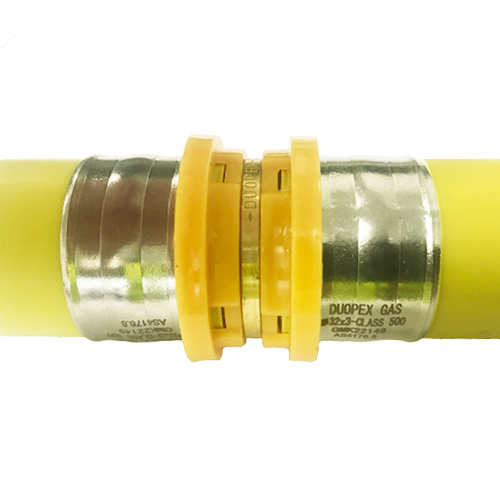
Step 6
Visually inspect the crimped ring has been adequately pressed as illustrated.
